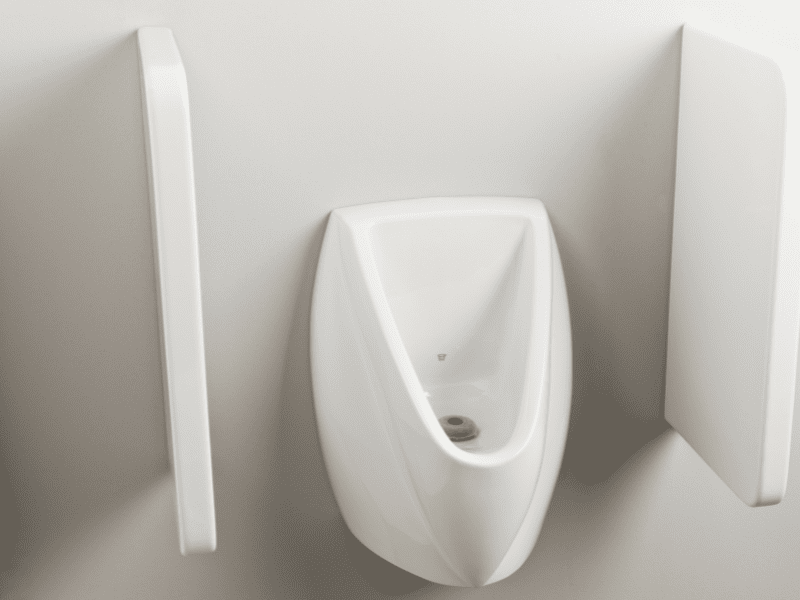
Whether you’re updating an existing bathroom or constructing a new one, you may have decided to swap a traditional urinal for a waterless option, like the ZeroFlush Waterless Urinal. When it comes to installation, you’re in luck! Because your waterless urinal doesn’t need to tie into a water line, installation is quick and easy. Changing out your existing urinal could take around an hour while installing a waterless urinal in a new bathroom could take as little as 25 minutes!
The Benefits of Installing a Zero Flush Waterless Urinal
The most obvious benefit of installing a waterless urinal is that it uses no water. Not only is this helpful for the environment, but it’s also helpful to your utility bills as well. In addition, because no water is needed, you will not need to tie into a waterline when you install your new ZeroFlush Waterless Urinal. Without a traditional flushing mechanism and drain, your waterless urinal is also less likely to clog. Cleaning and maintenance needs are reduced as well.
Tools and Materials Needed
Before you get started with installation, be sure to have these tools ready:
- Electric drill and screws
- Measuring tape
- Level
- Sealant
- ZeroFlush Installation Kit
- Wall bracket
- Drain insert
- Key
- Odor barrier
Step-by-Step Installation Guide
Preparation
- Remove the Existing Urinal
If you’re replacing your traditional urinal with a waterless one, you’ll first need to remove the existing urinal. First, be sure to turn off the water supply and cap it. Next, remove the caulk and grout around the urinal, then remove the urinal itself, along with any existing traps or conventional siphons.
- Inspect the Area for Compatibility
Check to be sure that your new urinal fits over the existing drain line, following your city’s building codes for appropriate heights.
- Ensure the Drain Line is Clear of Debris
Once your waterless urinal is installed, there is very little chance of something clogging up the drain lines. However, before you install your new waterless urinal, it’s important to check the drain line for existing clogs or obstructions, especially if you’ve just disconnected a traditional urinal from the line.
Installing the ZeroFlush Urinal
- Mark and Drill Mounting Points Using a Template
Measure the appropriate height. For standard urinal fittings, the distance is typically 610 mm from the floor to the lip of the bowl. For junior use, it’s 510 mm. Then use a level to mark mounting points.
- Attach the Mounting Bracket Securely
Drill the mounting points, then secure the wall mount with screws.
Securing the Urinal
- Place the Urinal onto the Wall Bracket
Attach your ZeroFlush Waterless Urinal to the wall bracket, and check that it is secure.
- Connect the Urinal to the Existing Waste Line
Attach the waste pipe to the 40 mm urinal outlet using either a compression joint or ABS glue.
- Check for Proper Alignment
Ensure your waterless urinal is level and securely attached to the wall and waste line.
- Use Sealant to Secure into Place
Use a sanitary-grade silicone sealant to secure the urinal to the wall.
Testing and Final Touches
- Perform a Functionality Test to Ensure Proper Drainage
Verify good flow and no leaks by pouring a small amount of water into the drain pipe.
- Install the Drain Insert and Odor Barrier
Place the drain insert from your installation kit into the drain opening, and press down on the center until it clicks into place. Next, pour about 30 oz. of water over the drain insert. Then, slowly pour the entire contents of the odor barrier over the drain insert, and wipe clean.
- Apply Sealant Around the Edges
If needed, apply additional sanitary-grade silicone sealant around the exterior of the bowl.
Maintenance Tips
Compared to traditional flush urinals, waterless urinals like ZeroFlush, require much less maintenance. To keep your ZeroFlush Waterless Urinal functioning properly, simply replace the drain inserts and odor barrier regularly, according to the manufacturer’s recommendations, based on time and usage. Cleaning is also made simpler with a ZeroFlush Waterless Urinal. No harsh chemicals or water is needed. Spray the bowl with a recommended cleaner and wipe it down periodically. These simple steps will maintain your waterless urinal for years to come.
Installing Your ZeroFlush Waterless Urinal
Reducing water usage in your home or commercial bathrooms should not be a daunting task. When you choose to install a ZeroFlush Waterless Urinal in your new or existing bathroom, the process may be easier than you think. First, shut off water to the area and remove your existing urinal. Clean the area and check for debris in the drain line before securing the provided wall mount to the wall. Connect your drain to the waste line, then secure the urinal to the wall with a silicone sealant. Finally, install your drain insert and add odor barrier before your waterless urinal is ready to use. Be sure to change out the drain insert regularly for an odorless bathroom experience, and check those utility bills for drastically reduced water costs!
